GitHub Desktop Beginner Tutorial
Compared with other platforms, GitHub is quite friendly. It comes with a GUI app so you don’t need to use the command line.
This tutorial is for my roommate.
Register a GitHub account
To use GitHub, you need an account.
Go to Join GitHub · GitHub and follow the steps. It’s a bit more elaborate than typical sign‑up forms.
Use a QQ email like 23333@qq.com if you want.
The wording is simple; if you don’t understand, use your browser’s translator.
Download GitHub Desktop
Go to GitHub Desktop | Simple collaboration from your desktop to download.
If the official download is slow, you can get it from Lenovo App Store or similar.
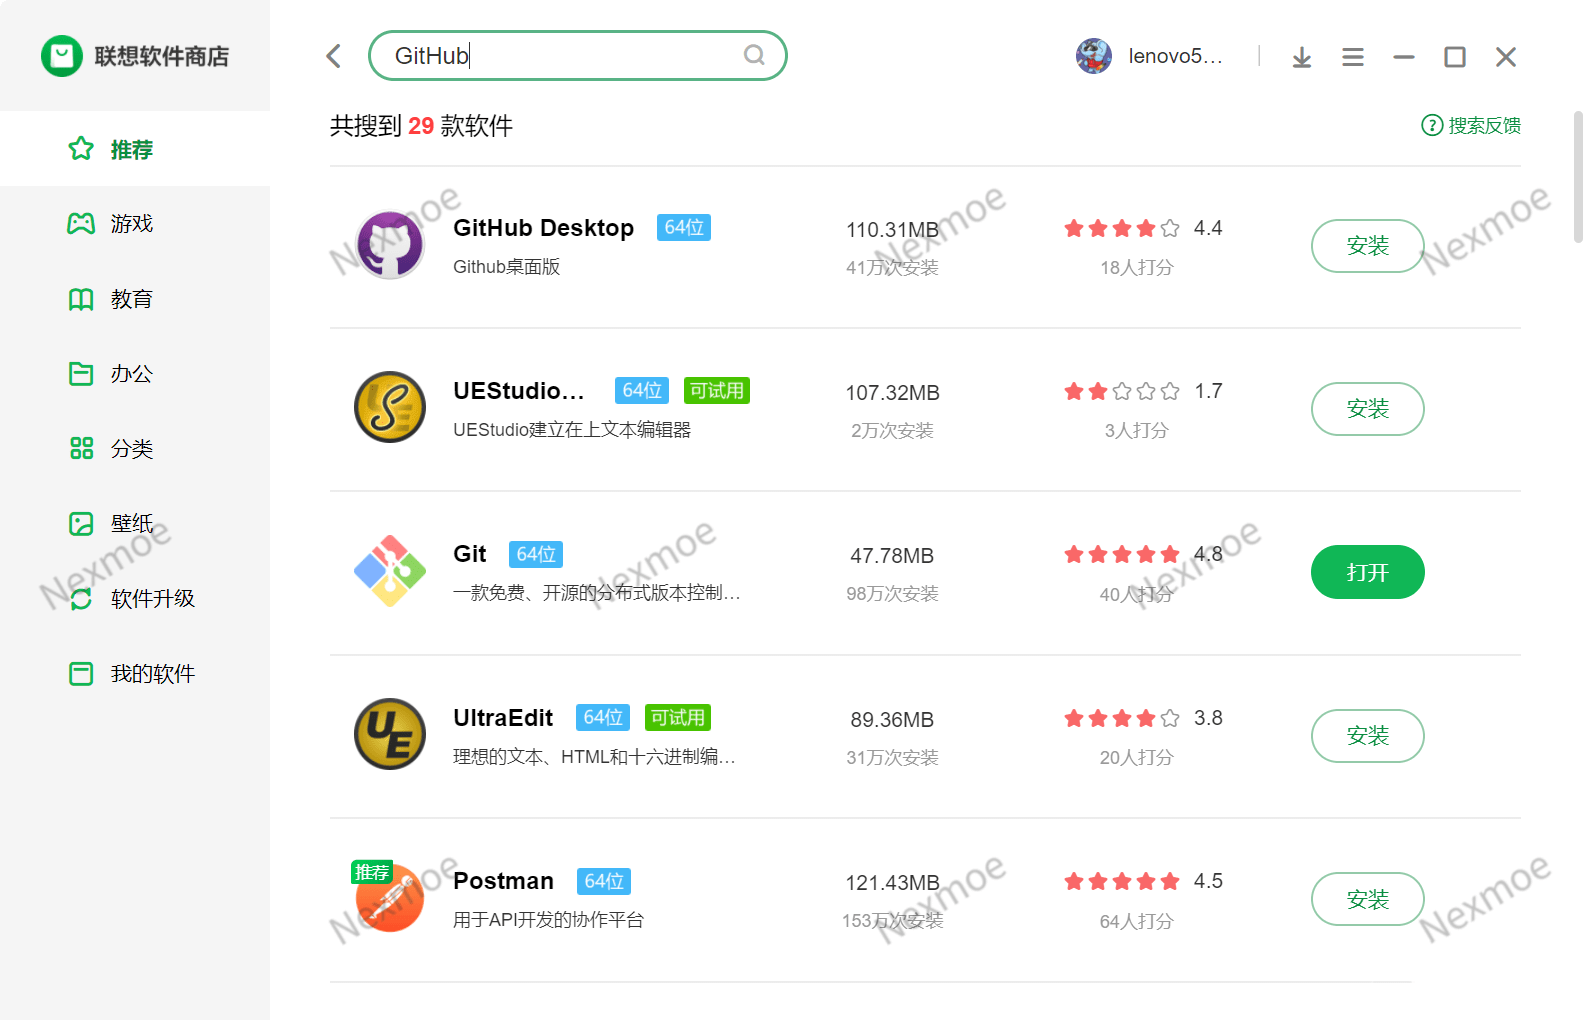
Install it like any normal app and open it.
Sign in to GitHub
The first time you open it, it should prompt you to sign in. Just follow the steps.
If you don’t see the login, go to File -> Options -> Accounts -> Sign in.
Create a repository (project)
“Respiratory” means a storage room—but here we just call it a repository or project.
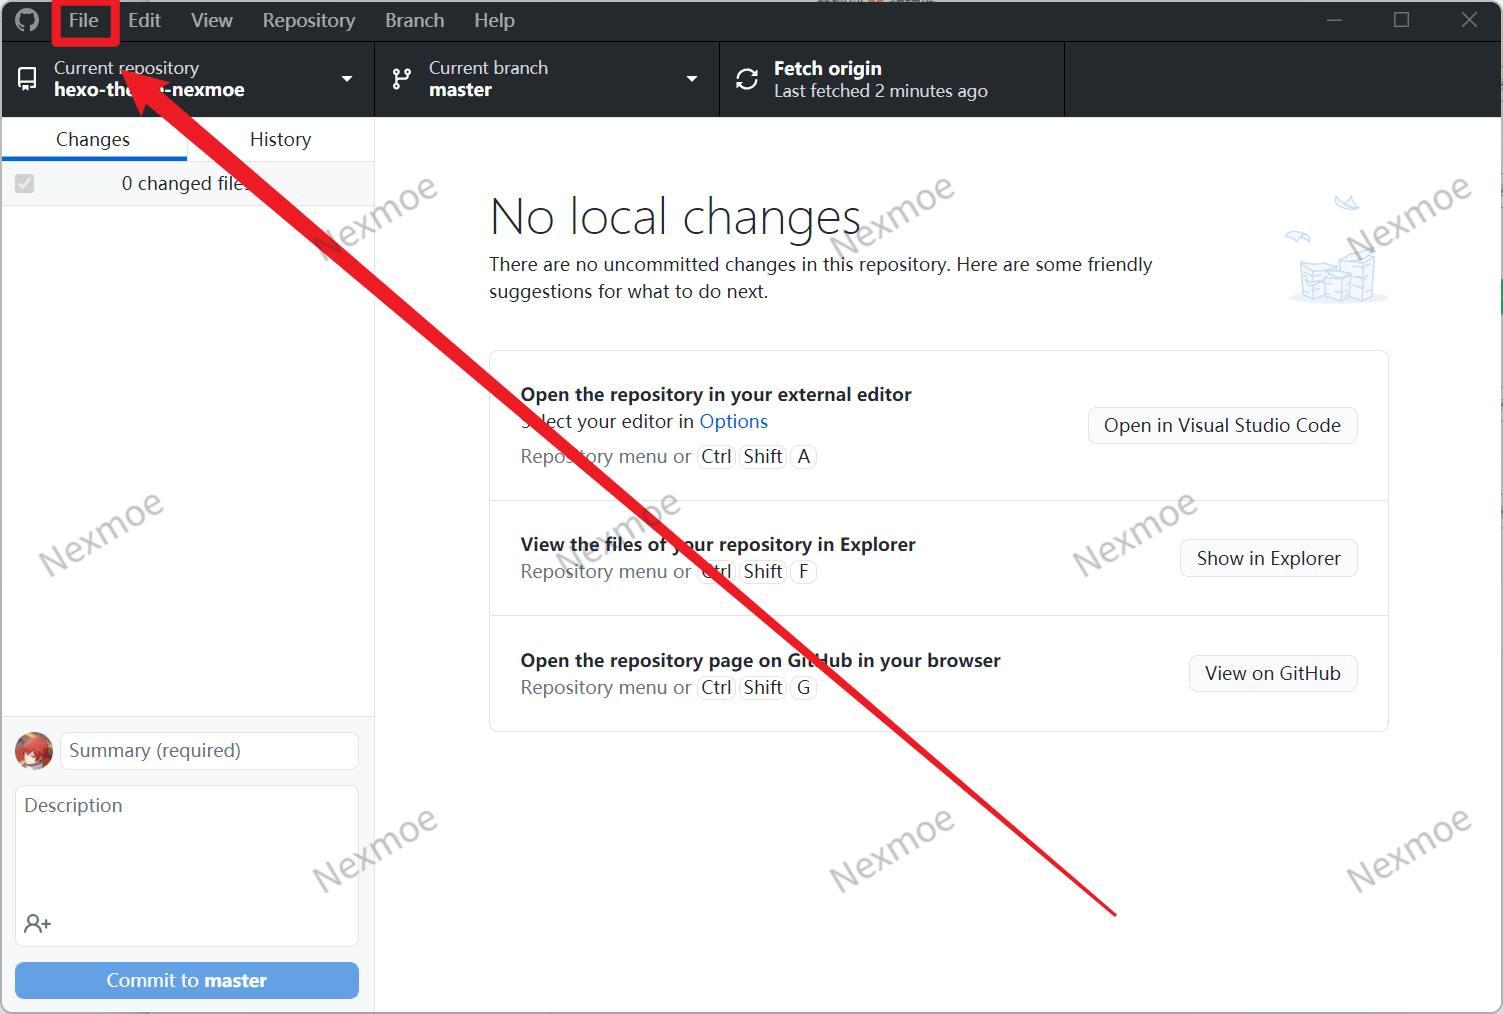
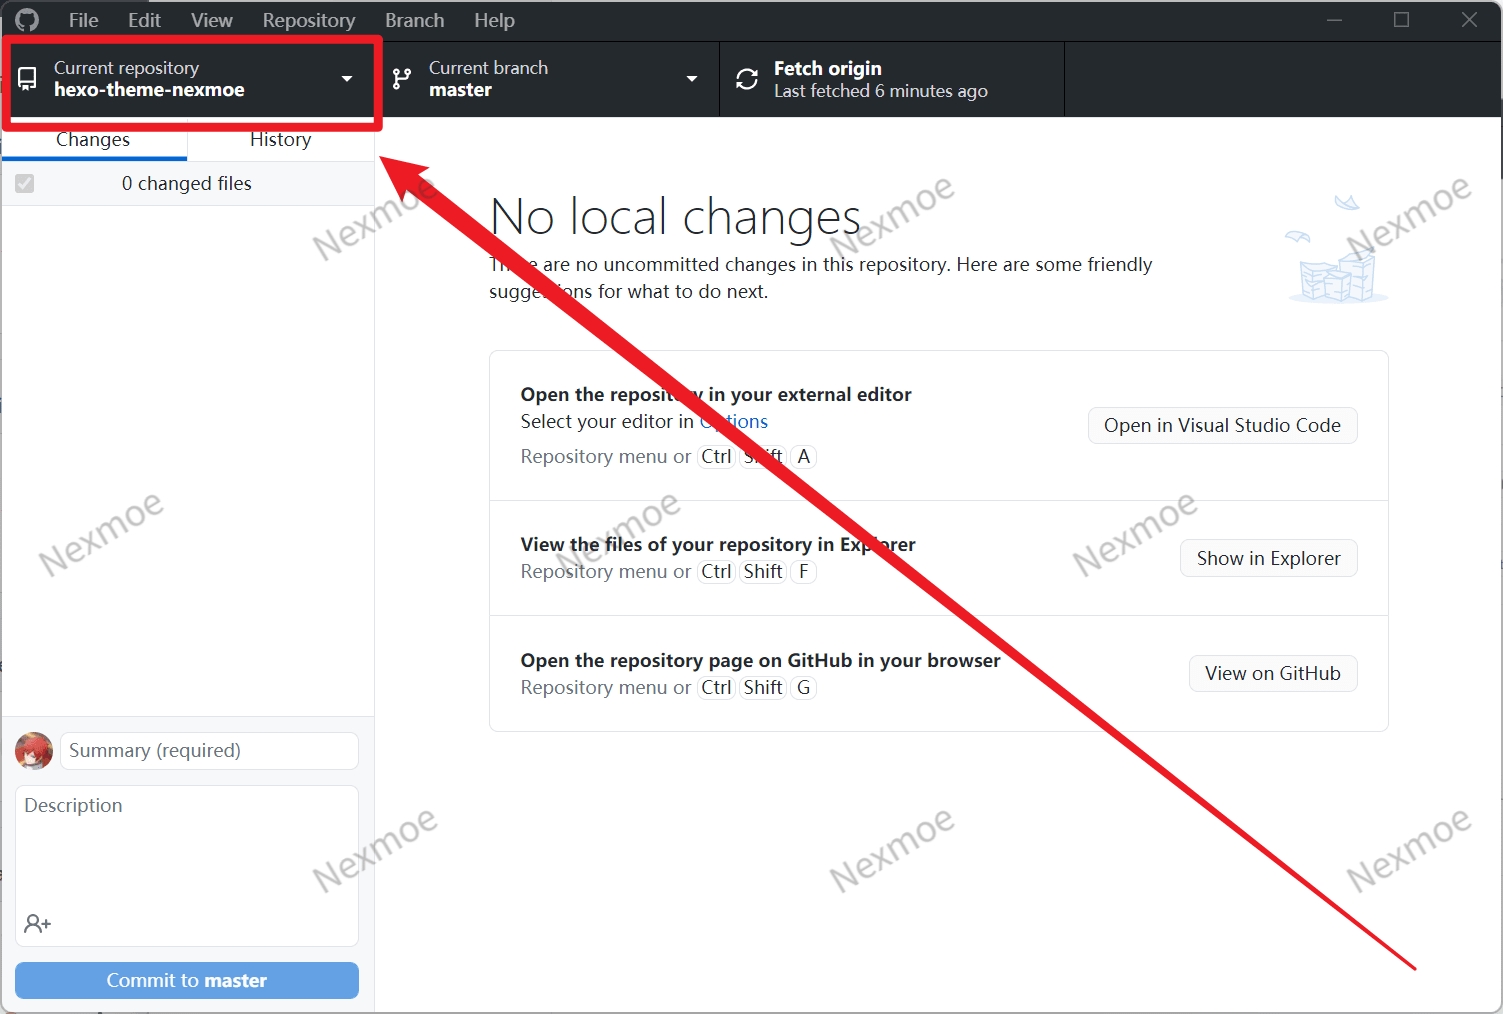
Step 1
Click the area inside the red box.
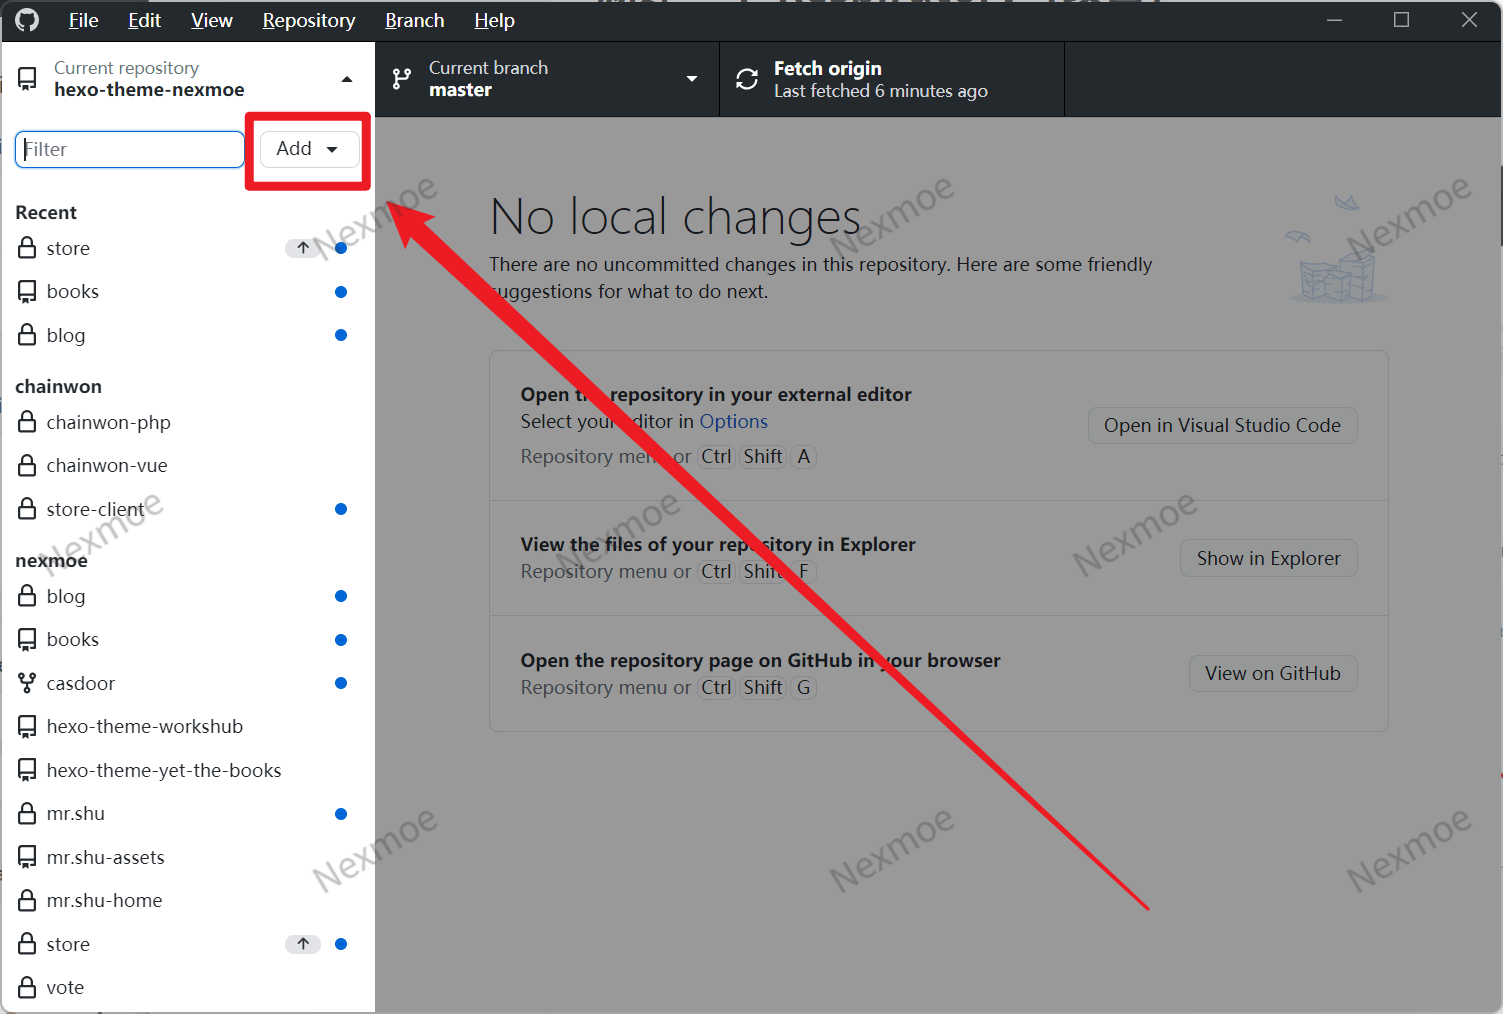
Step 2
Click “Add” -> Create new repository…
Step 3 Fill in project info
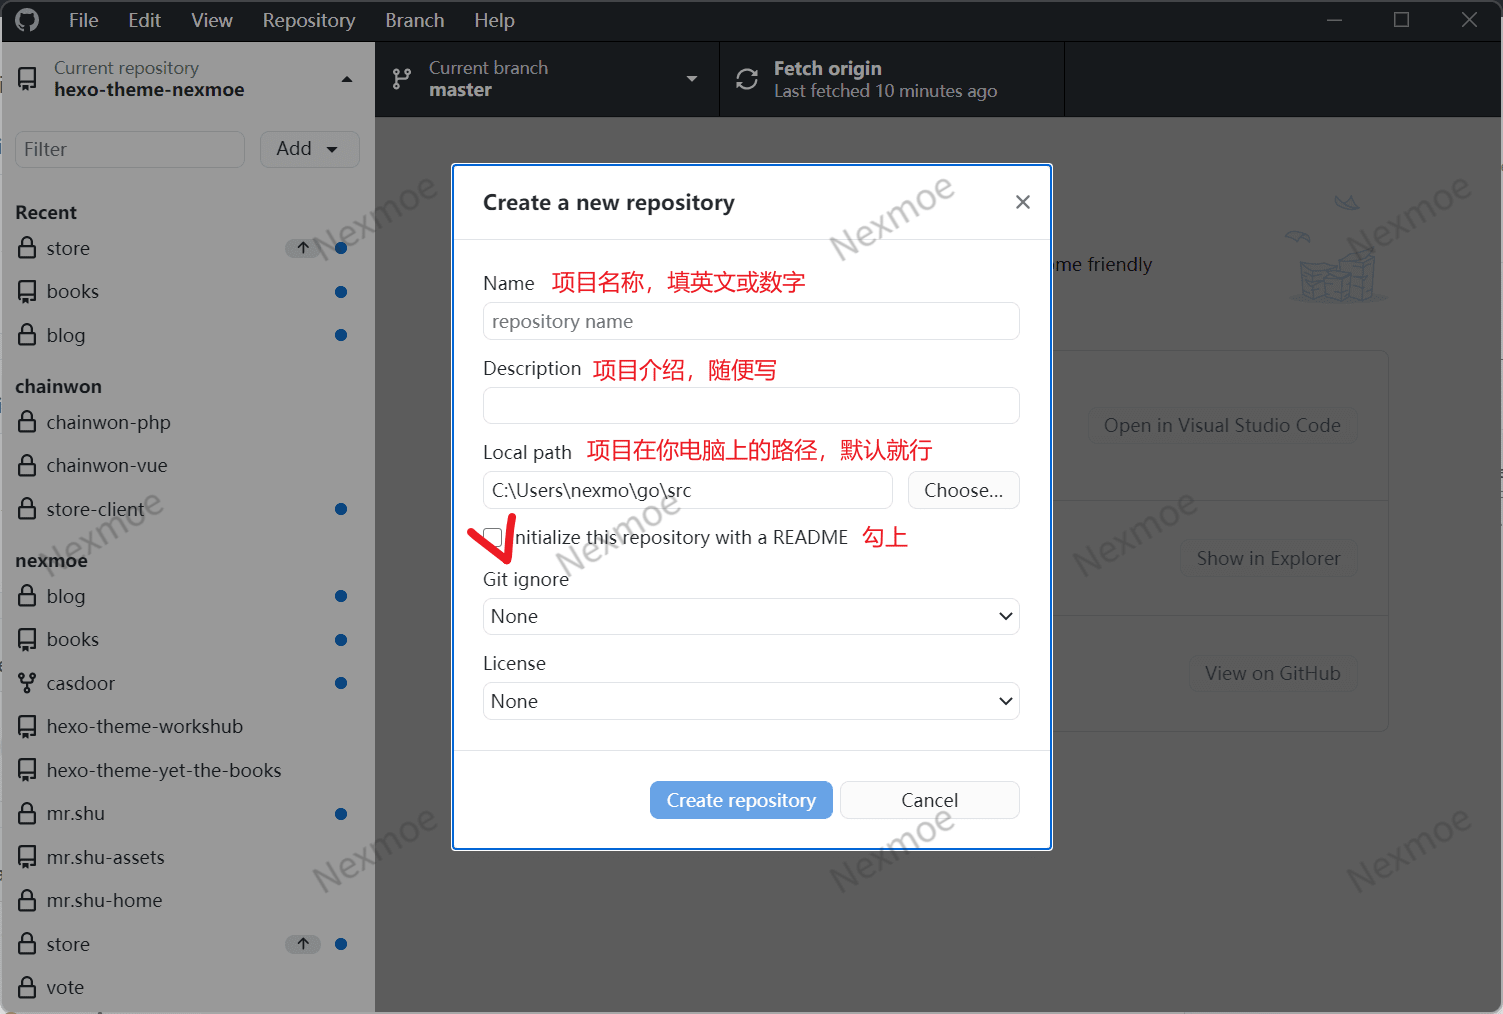
Git ignore can be left empty for now. It stores rules for files to ignore. See Git 忽略文件.gitignore 的使用 - 简书
License can also be ignored for now. I recommend MIT License. See 各种开源协议介绍 | 菜鸟教程
After initialization, your project is still only on your computer—not yet on GitHub.
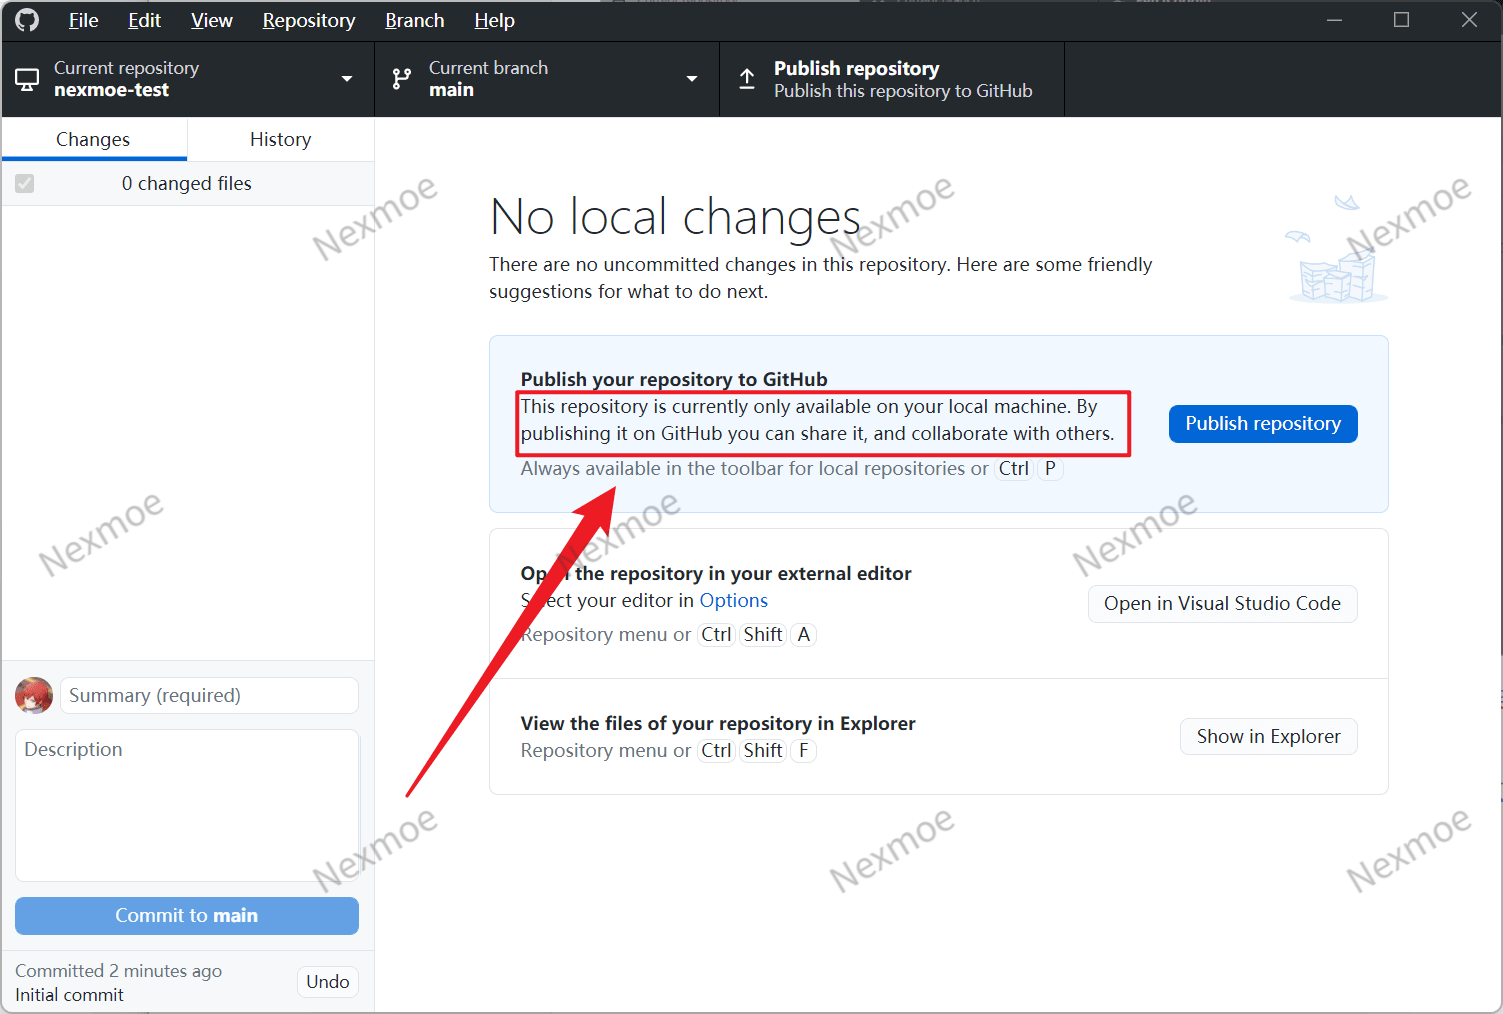
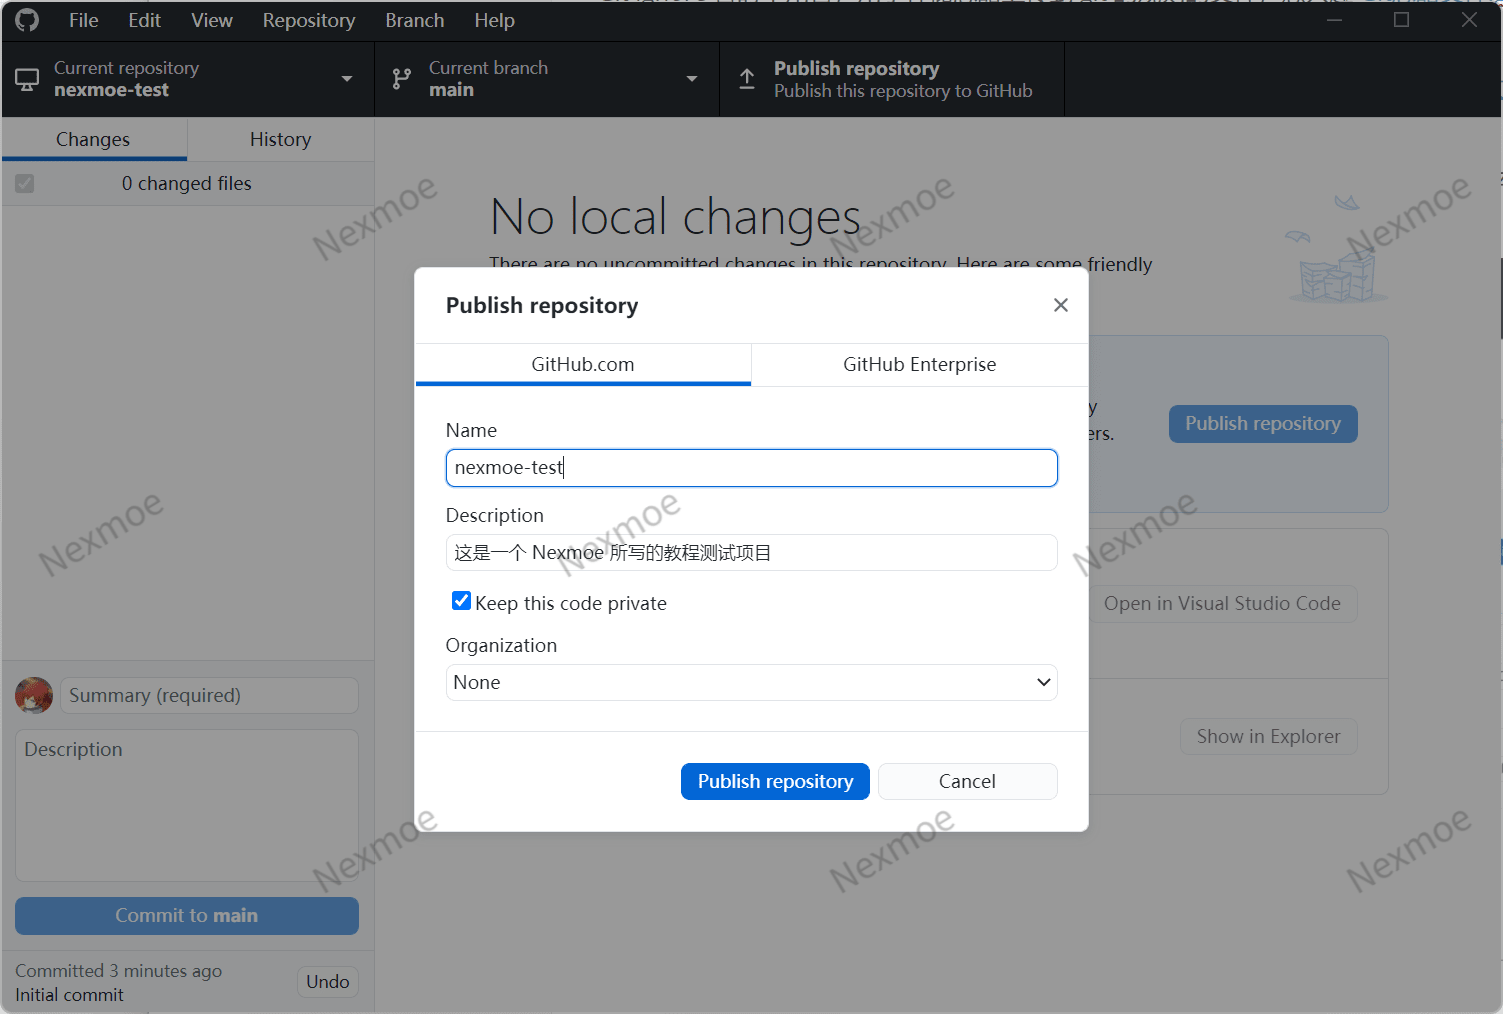
Click “Publish repository” and confirm to upload it to GitHub.
Uncheck “Keep this code private” if you want others to see it.
Write code
Click “Show in Explorer” to open the project folder.
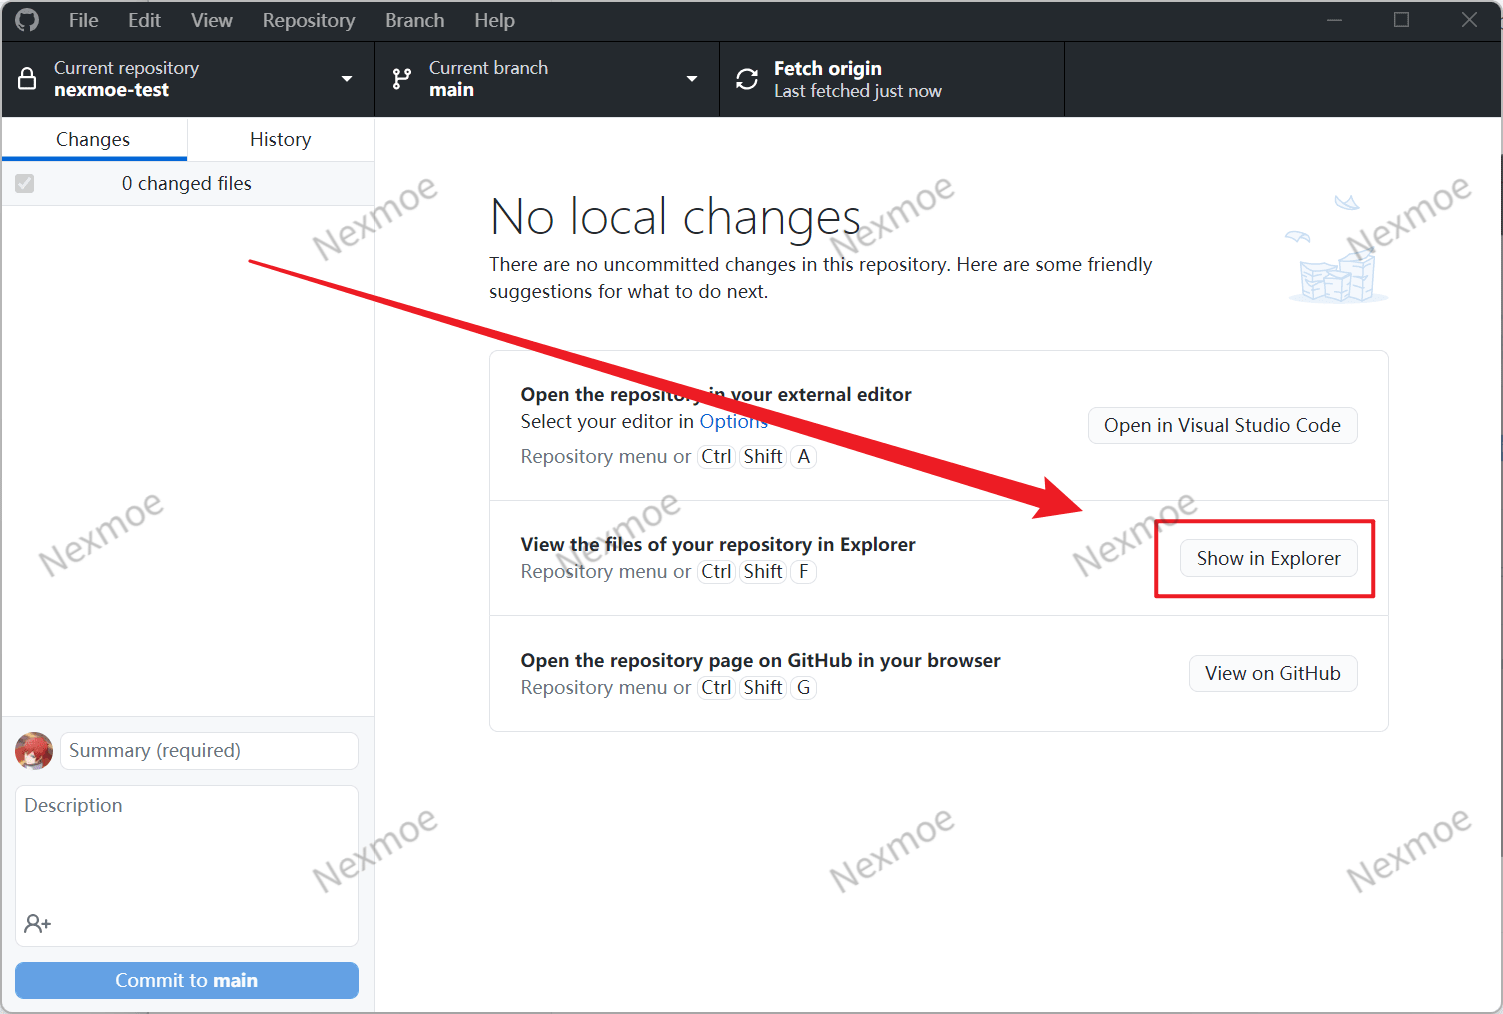
Create and edit files in the folder.
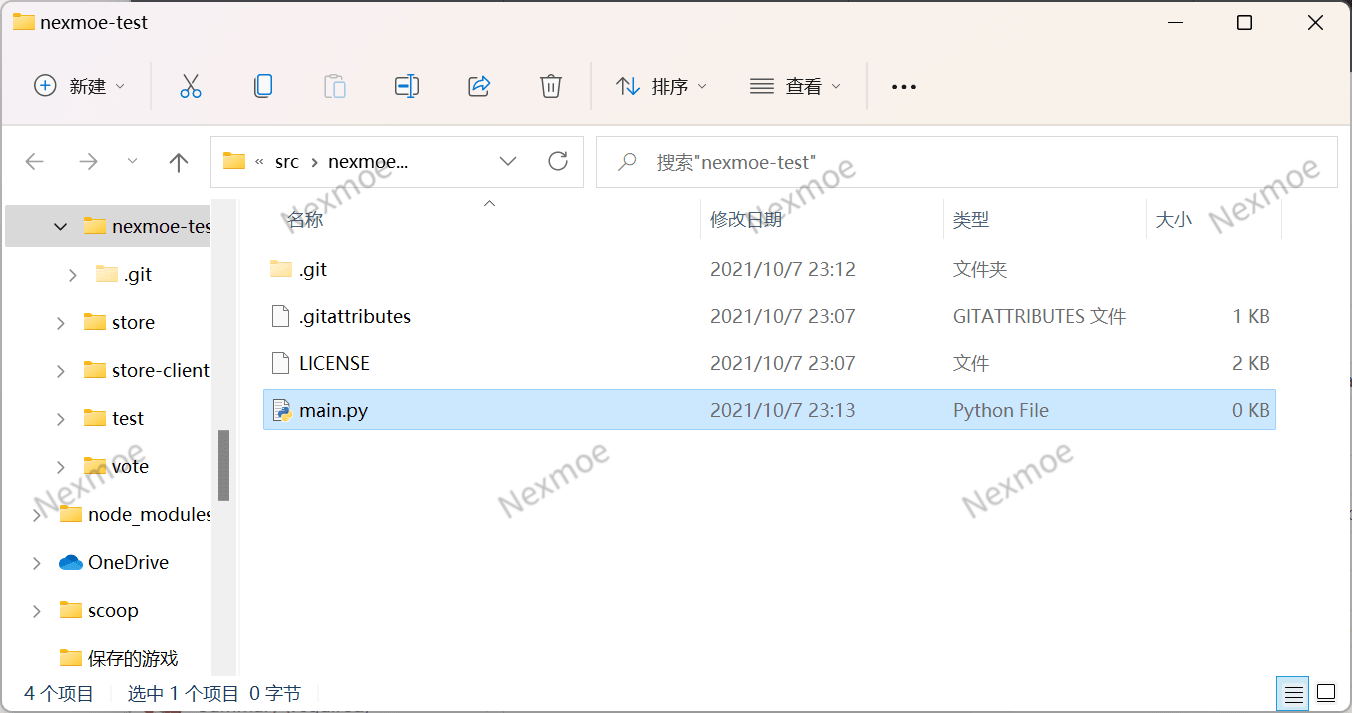
Back in GitHub Desktop, you’ll see the changes.
Push your code to GitHub
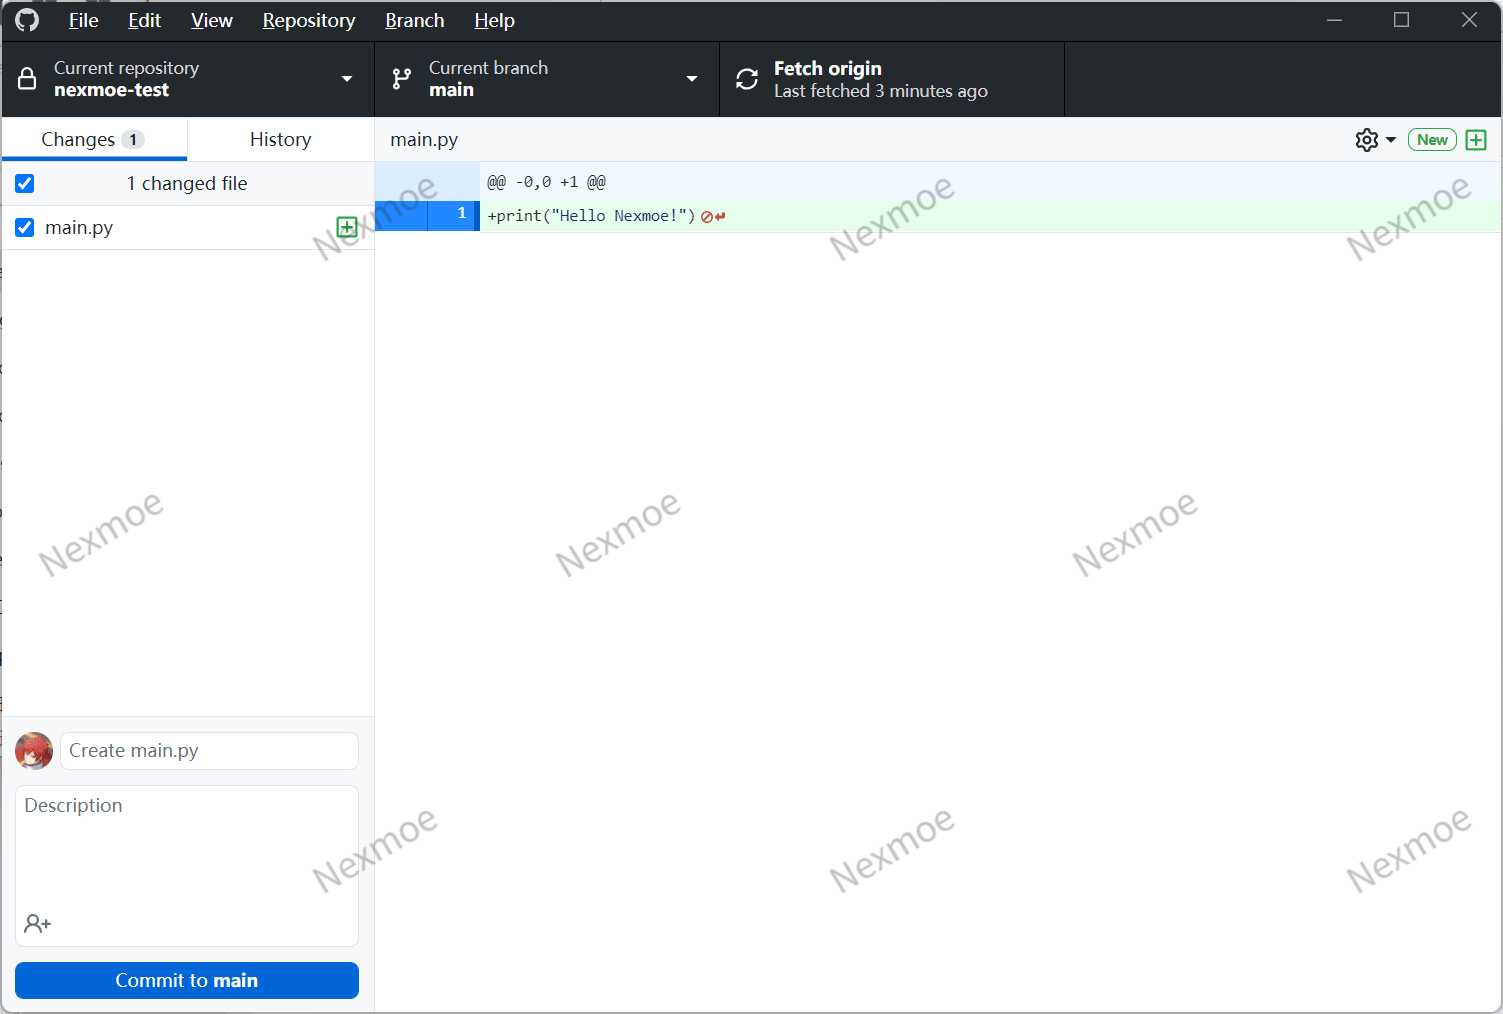
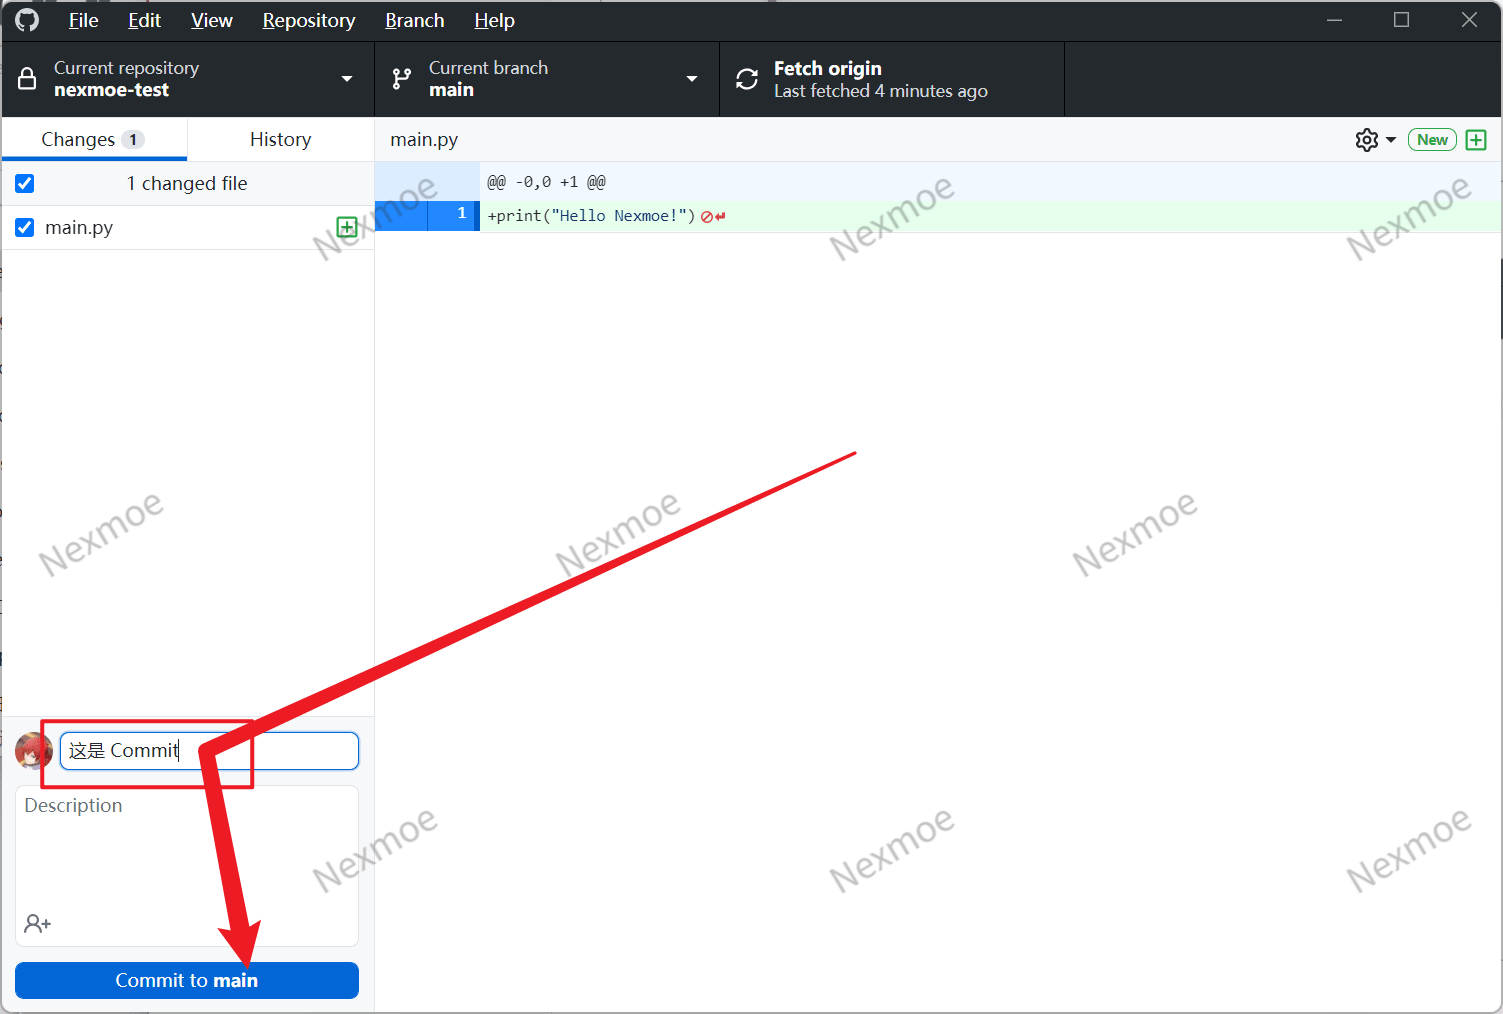
Enter a commit message, then click “Commit to main”.
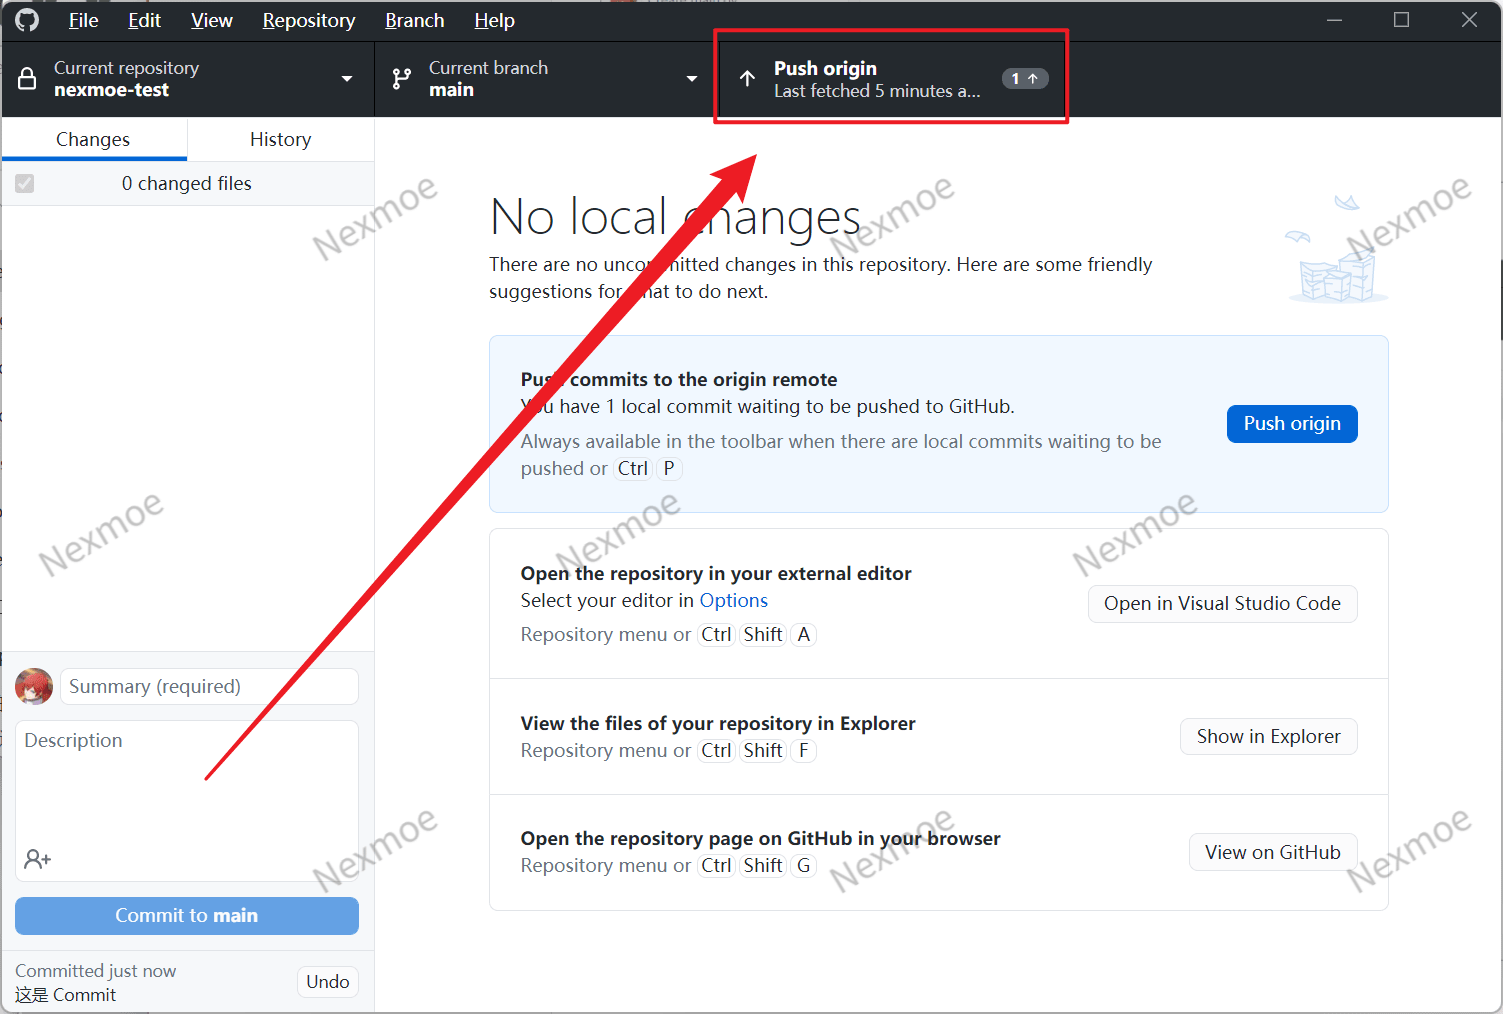
Click “Push origin” to upload your commit to GitHub.
Done! 🎉🎉🎉 Congrats on learning the basics of GitHub Desktop.